How To Wrap Text In Google Slides: Step By Step

Pictures are a great way to illustrate important information and add some decoration on top of the text. Humans are visual creatures, and having a presentation filled with just text and no illustrations can bore the viewers.
Used in moderation, pictures can improve the overall appearance of your document by adding colors that complement one another or providing an iconographic element like imagery for people. They're also great to visually demonstrate an idea, and help keep your audience interested!
Google Slides is a popular tool that people use to build presentations. It's free to use and easy to learn. A situation might arise where you want to wrap text around the images in your slide. In such a case, Google Sides does not offer a straightforward solution. However, you can follow the steps outlined below to manually wrap text. Read on!
Part 1: Inserting an Image in Google Slides
Skip to Part 2 if you already know how to insert images in Google Slides
The first thing you need to do to wrap text around your image is to add the image itself! There are multiple ways you can do this, some of which we have outlined below.
#1. Open the Slides presentation you wish to edit
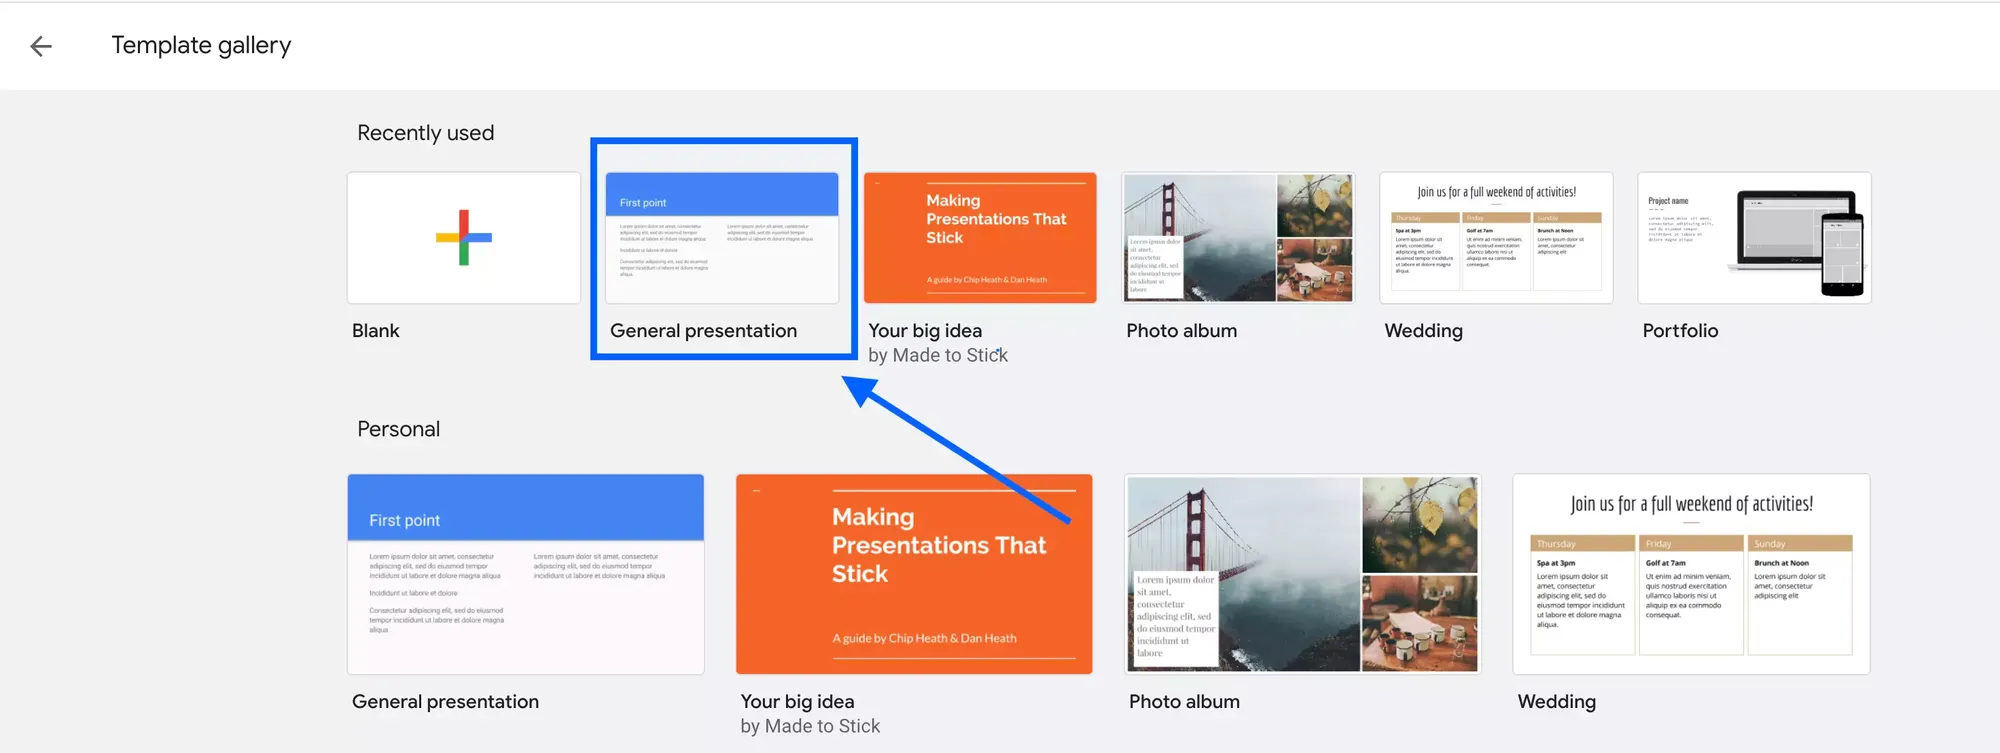
#2. Select the slide of your choice
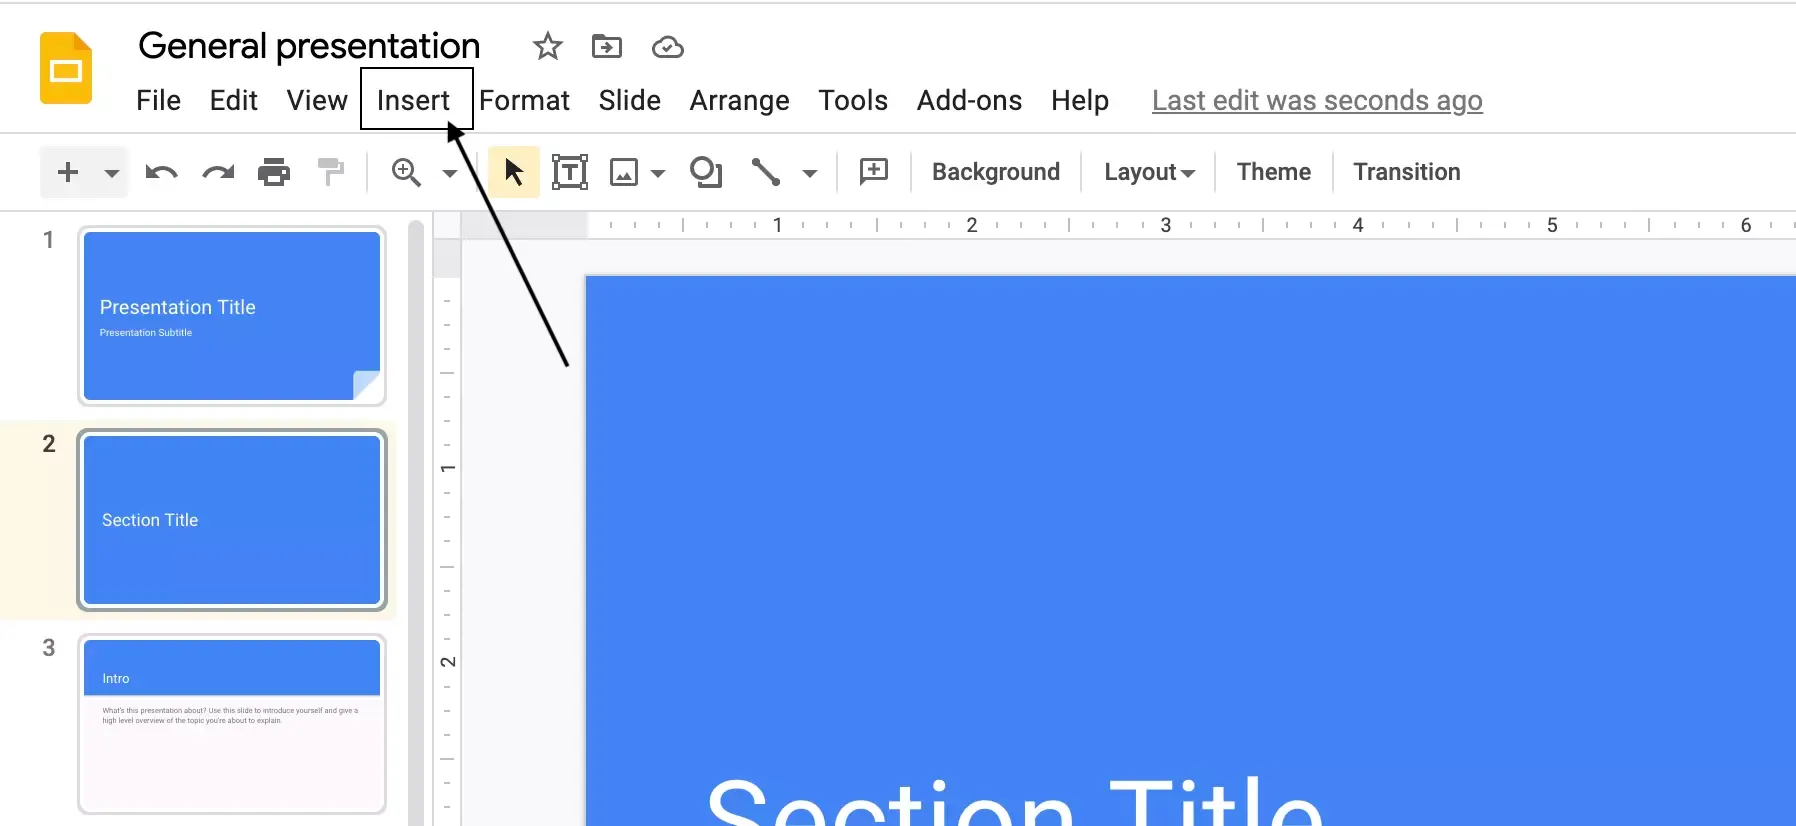
#3. In the top navigation bar, click on the Insert option
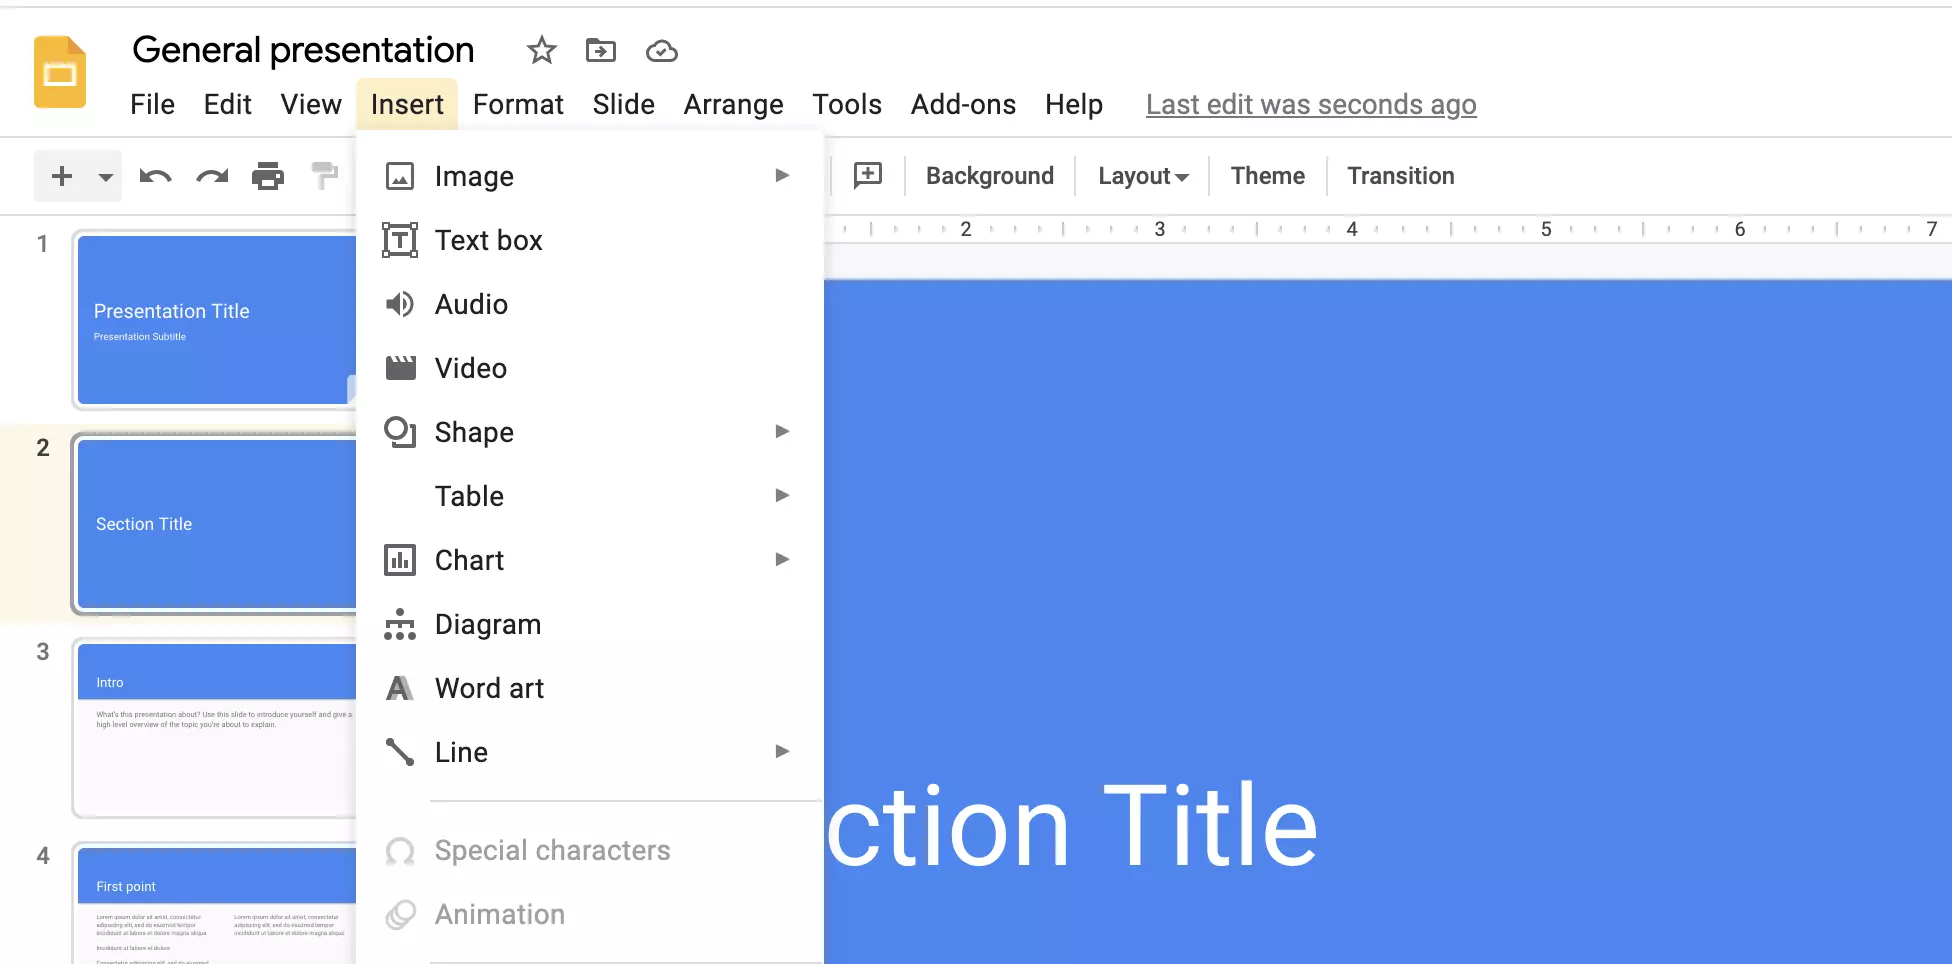
#4. Once the dropdown menu shows up, select the Image option
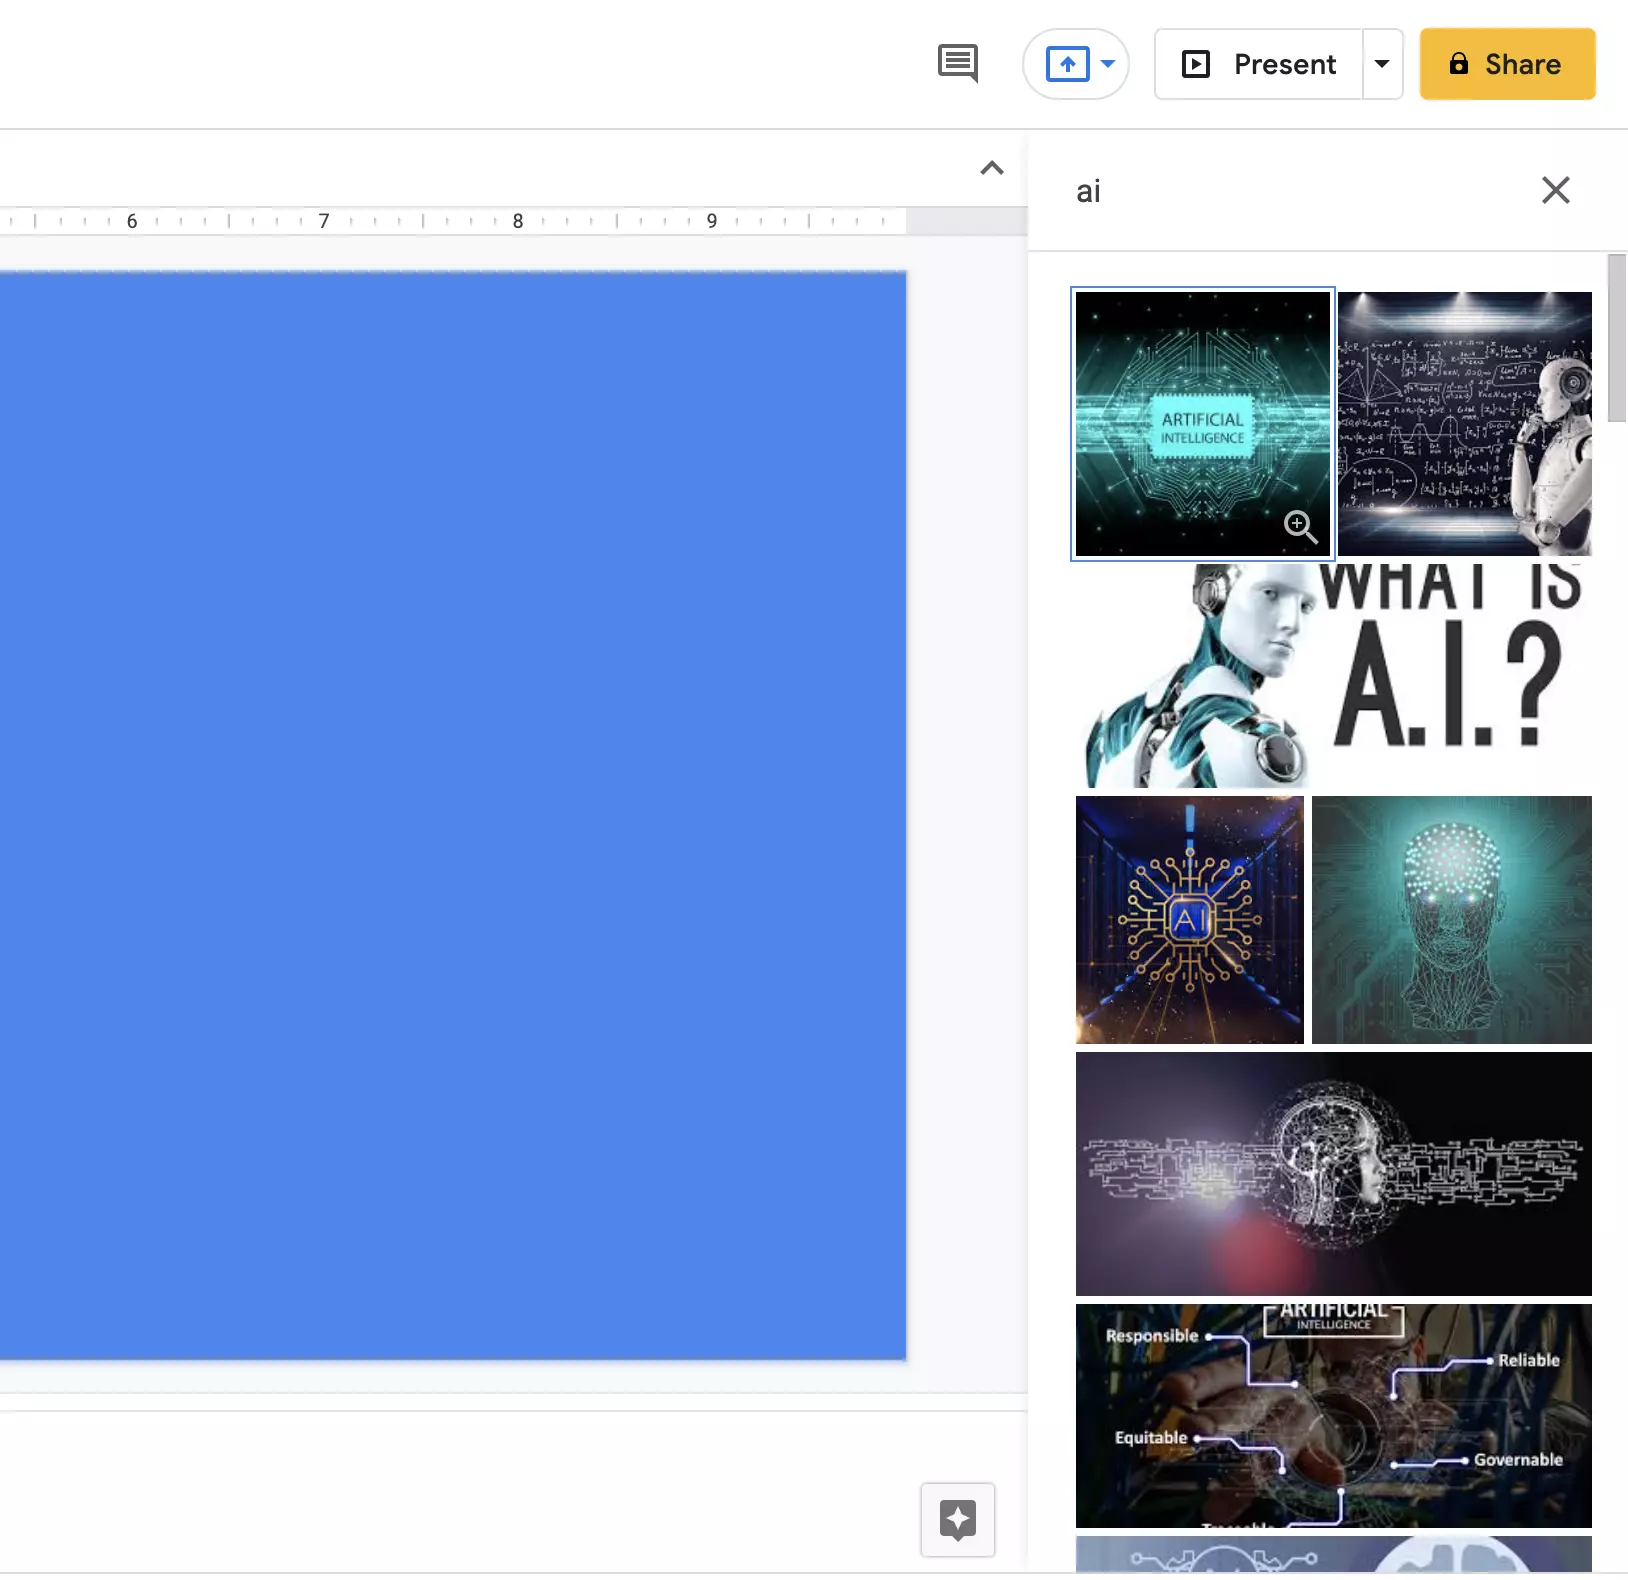
#5. There are multiple ways to insert an image in slides. You can either choose to upload from your computer, search on google, or even take a picture! We're going to search for an image on the web
#6. A search sidebar will open up, search for an image of your choice
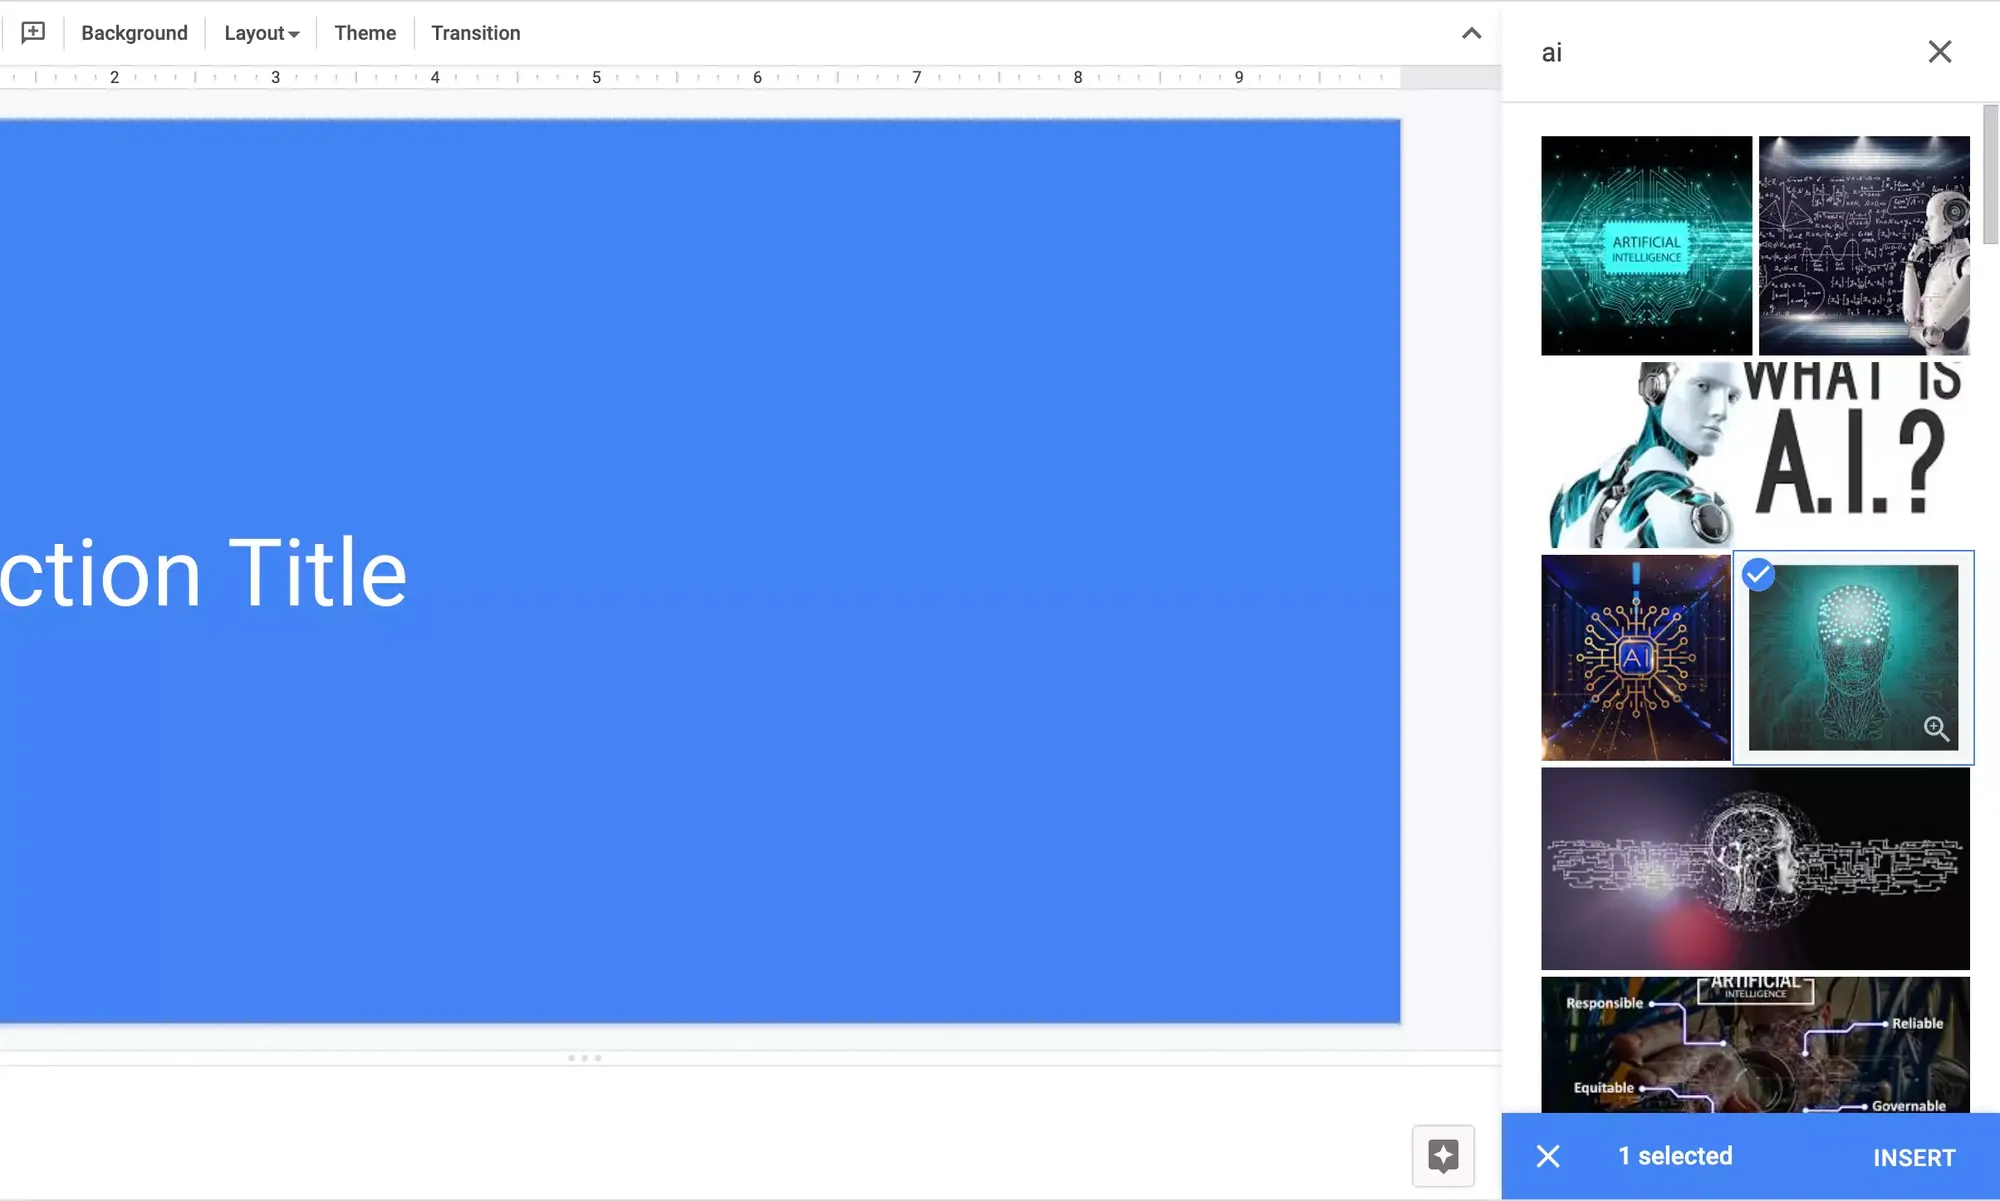
#7. You can select one or multiple images. Select all the images of your choice and click on Insert; your image will show up on your slide!
Part 2: Wrapping text around Images in Google Slides
Now comes the juicy part! Unfortunately, Google Slides does not have an in-built way of wrapping text around images. No fear! There's a way we can format the text manually so that it wraps around the image. Just follow the steps outlined below.
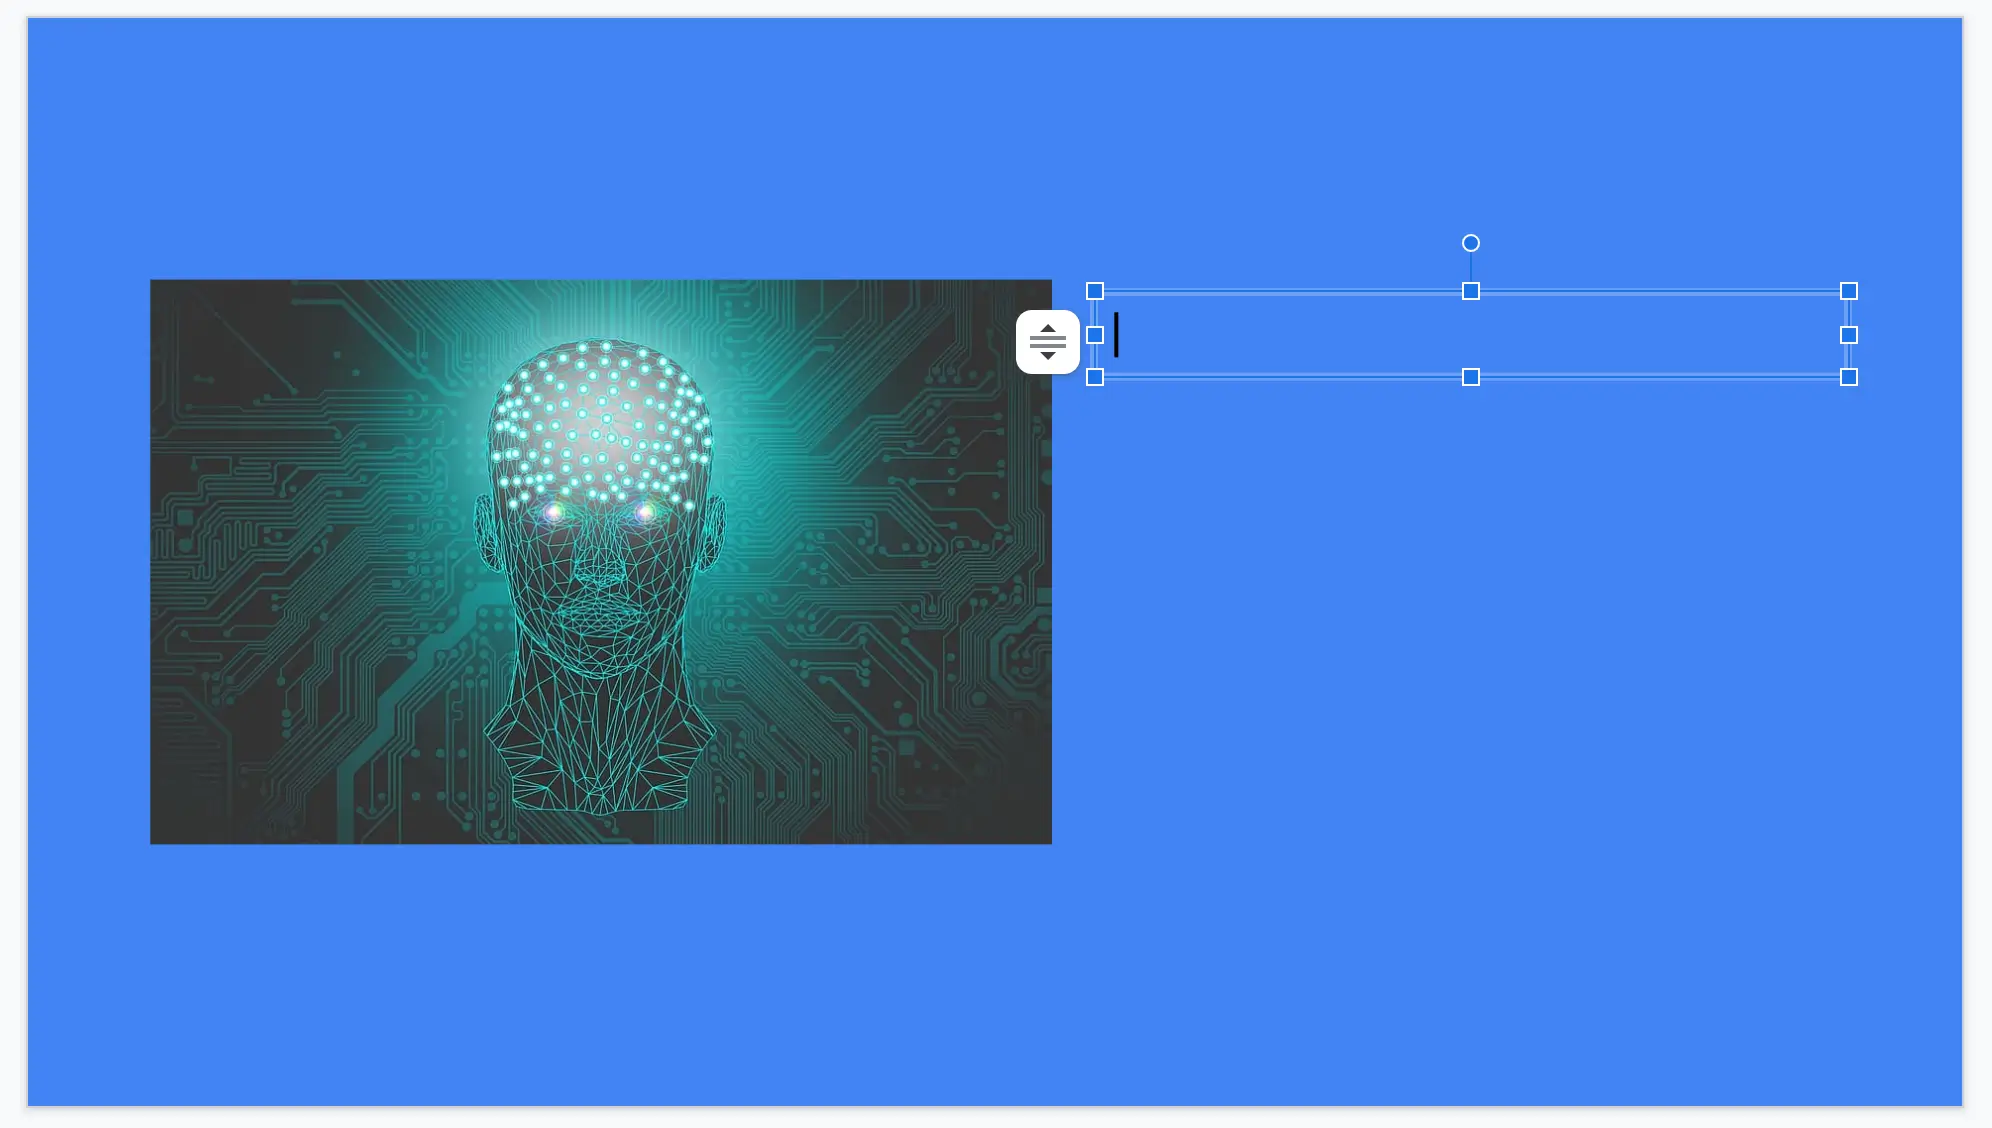
#1. Position and size your image to fit your slide
#2. Add a text box to your slide by clicking on the text box icon. Alternatively, you can select Insert > Text Box from the dropdown menu
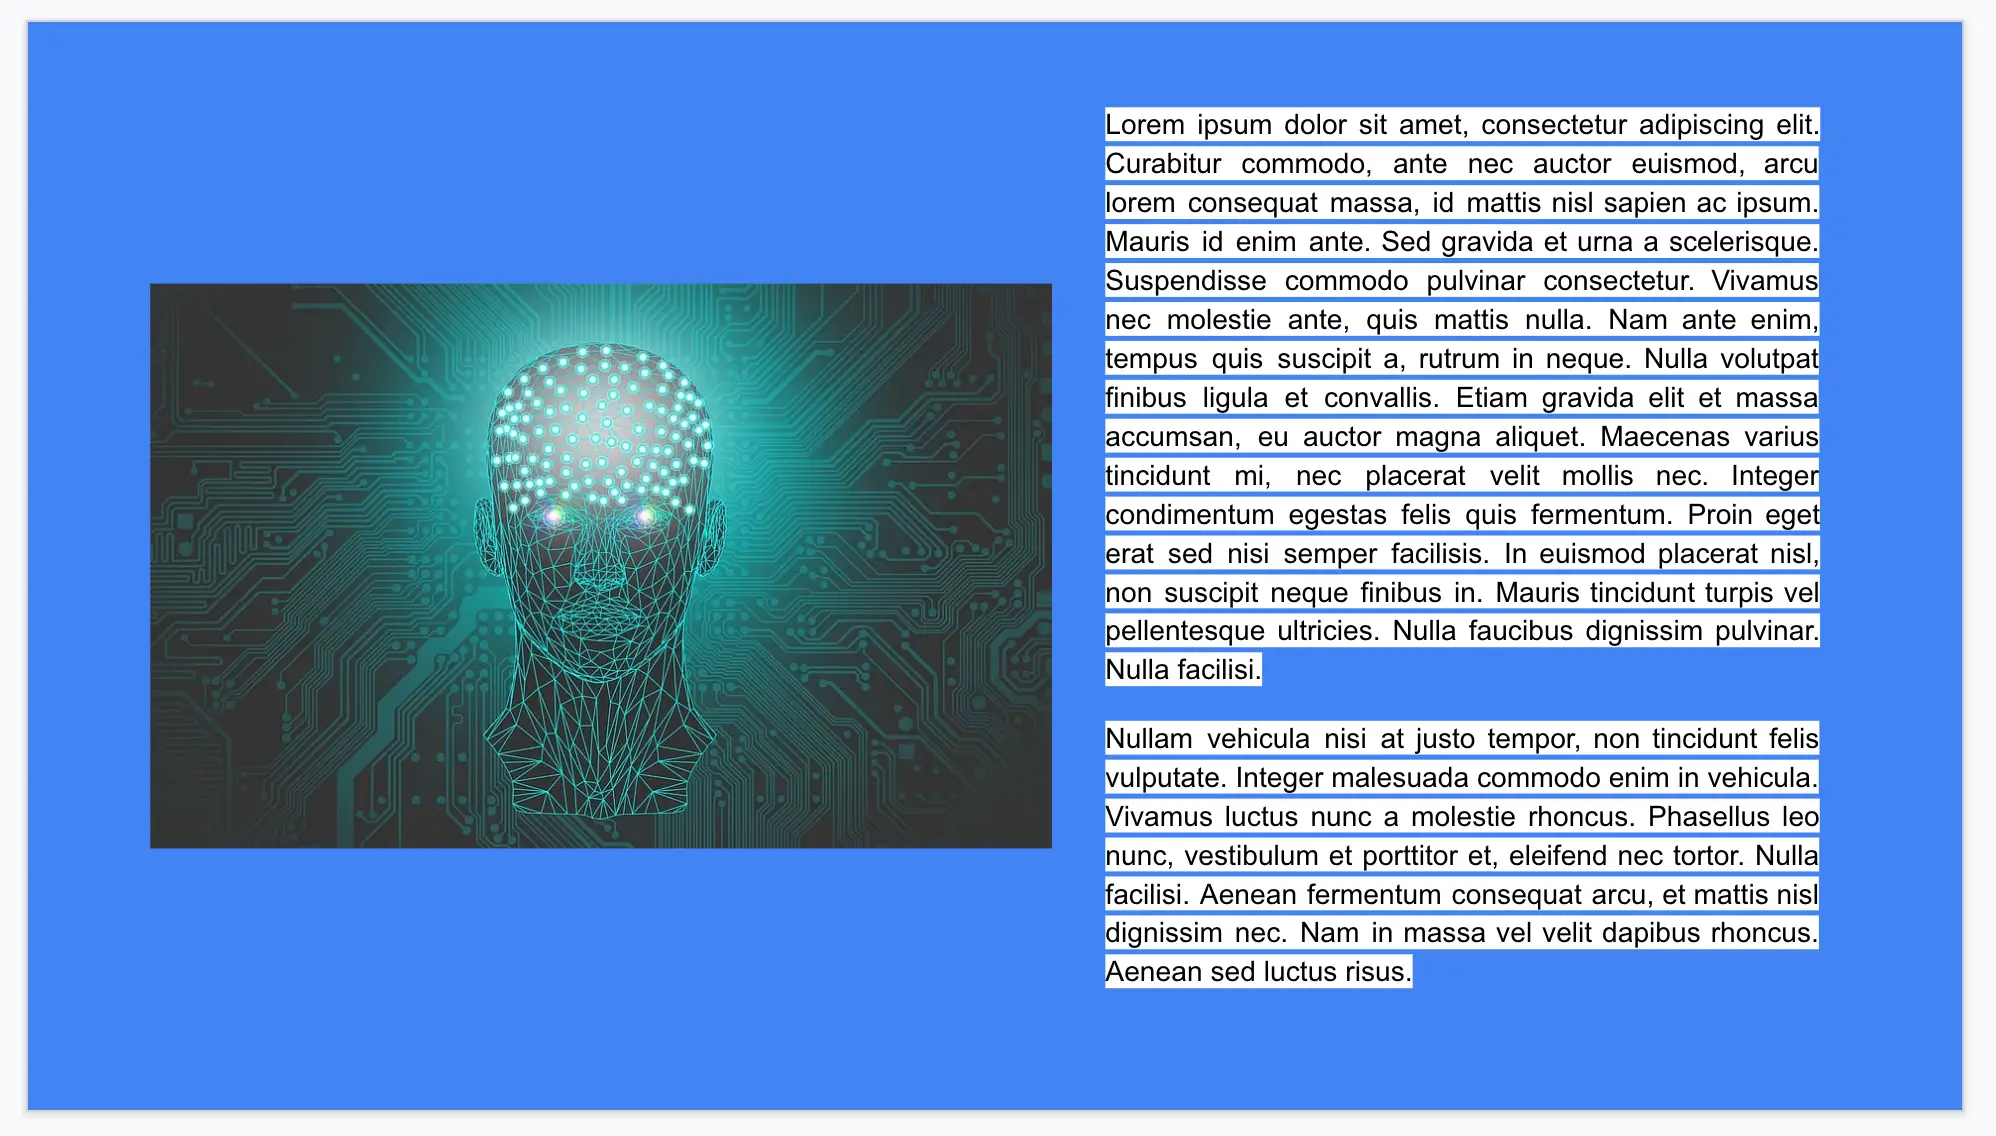
#3. Add your text to the Text Box and change the Text Align to Justified
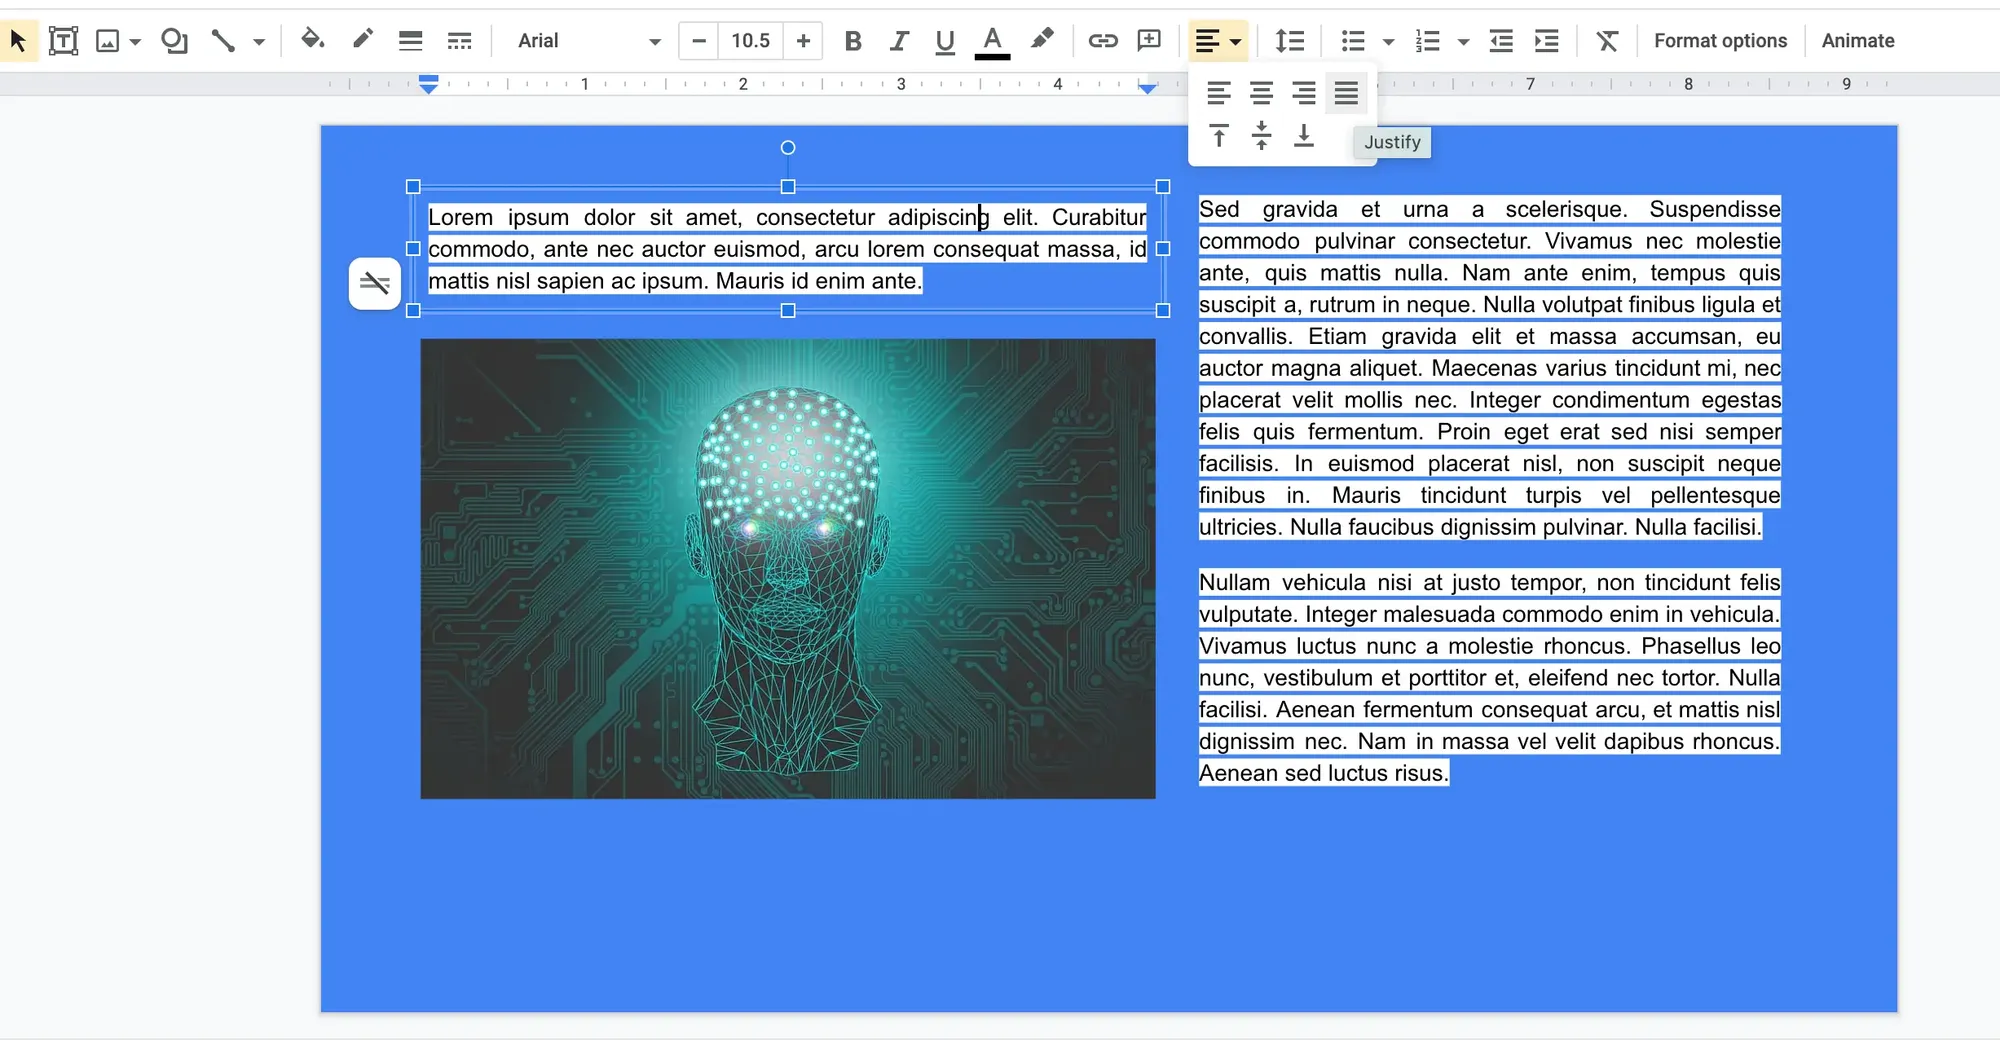
#4. To wrap your text around the image, add text boxes to the top and bottom of your image

#5. Place some of your content in the upper text box and some in the lower so that the prose flow naturally and the text makes sense and Justify all your text
And that's all folks! You can change the layout and text alignment to suit your needs and make your slides presentation ready in no time.